The release cycle of SQL Azure is 4 times a year, and new functionality is…
If you plan to migrate a database to SQL Azure, you can find a tool at Codeplex to help you with the migration, SQL Azure Migration Wizard. There are some questions that has to be answered before you migrate a database to SQL Azure:
– Is your database compatible with SQL Azure?
– Does your database fit in the SQL Azure platform?
– Is your application suitable for Azure?
– Is your database designed to perform well?
– How should you handle the maintenance in SQL Azure?
– How are you going to test your application in the cloud to make sure it works?
– Should you migrate or design a new database?
If you can answer these questions, you can continue with the migration plans. And yes the questions may simple to answer, but if you have read my other blog posts about SQL Azure, you know that there are some things that you need to make sure you can handle, like:
– Max Database size
– Index fragmentation
– Connection termination due to heavy resource usage
– Etc.
Well, I would prefer to design a new database before trying to migrate a database to make sure the database is performing well. If you decide to continue with your migration, I’ll guide you through the migration wizard.
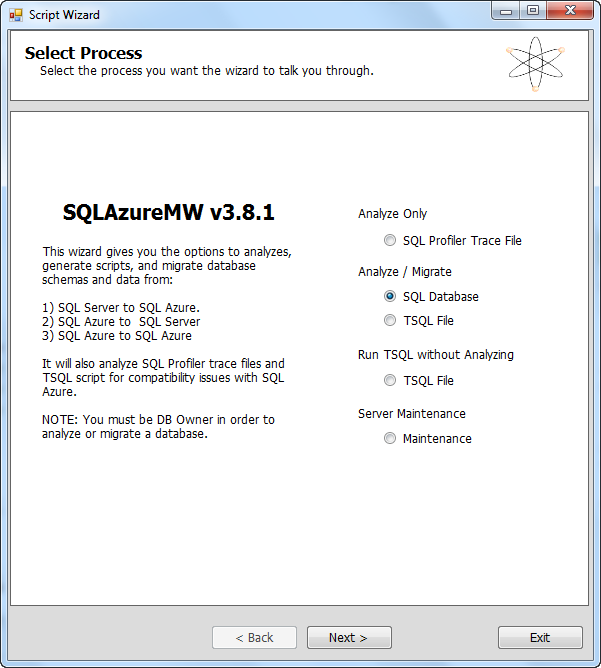
1. Select Process In the first step you need to select what you want to do, in my case I want to Analyze and migrate a SQL database to make sure my database is compatible with SQL Azure. Select the option and click next.
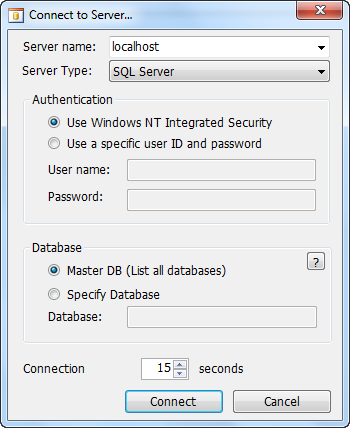
2. Connect If you chose the “Analzye and Migrate” SQL Database, you need to connect to your server. Enter the name of your server, your login credentials and select master db or specify databasename.
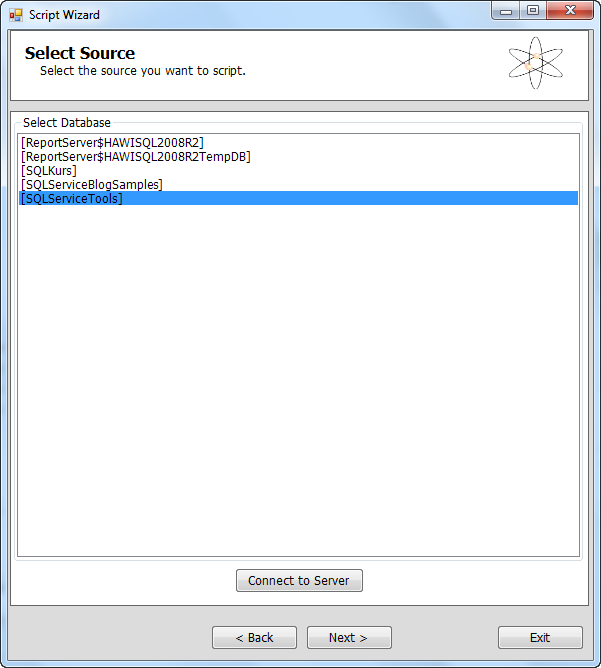
3. Select Source If you selected the master db, you get a list of databases to choose from as source. Klick the desired database and click next.
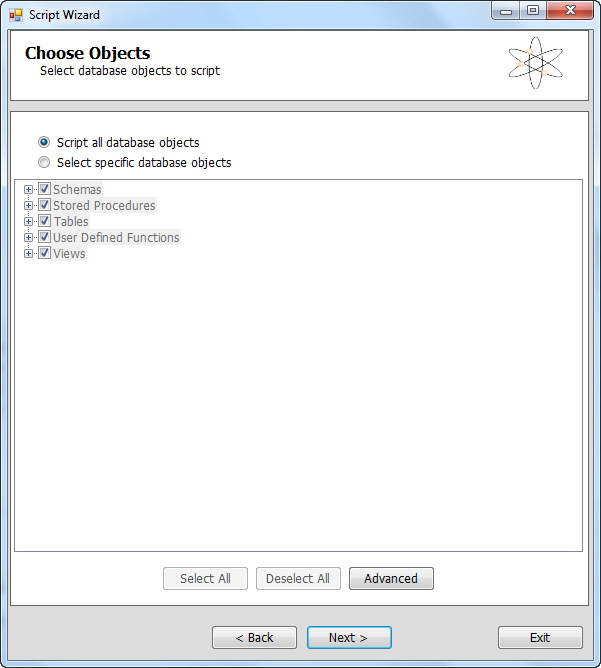
4. Choose objects Next you need to choose the objects you want to migrate and in my case I choose to migrate “all objects” amd click next.
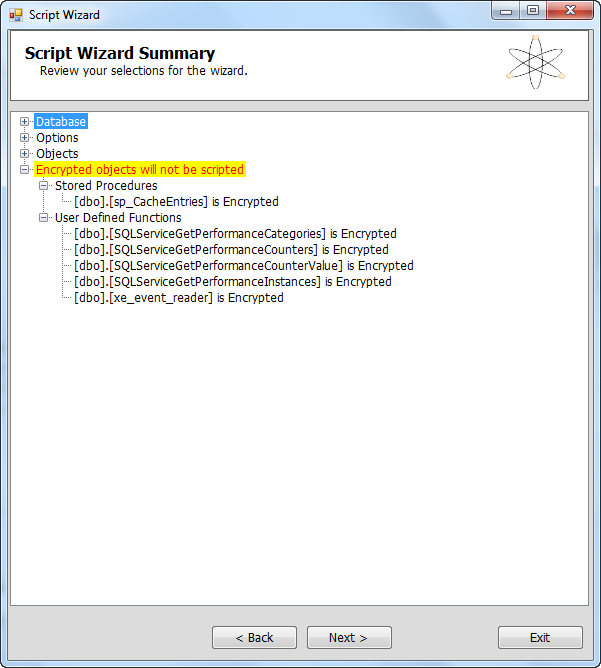
5. Script Wizard Summary In the next step you get a script summary and you get some early warnings if there are some objects that can’t be migrated. In my case I have some encrypted procedures that can’t be migrated, but that was expected. Click next to continue or exit to abort the process and fix any problems.
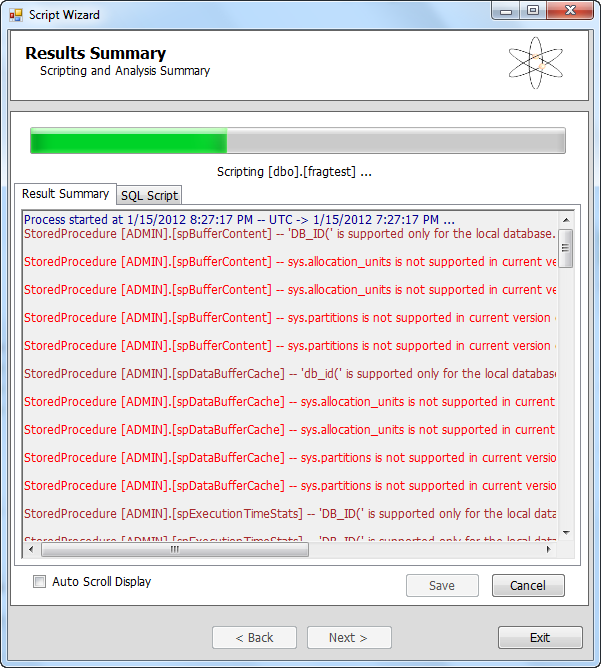
6. Result Summary If you clicked next, you can follow the process and see if there are some compatibility issues.
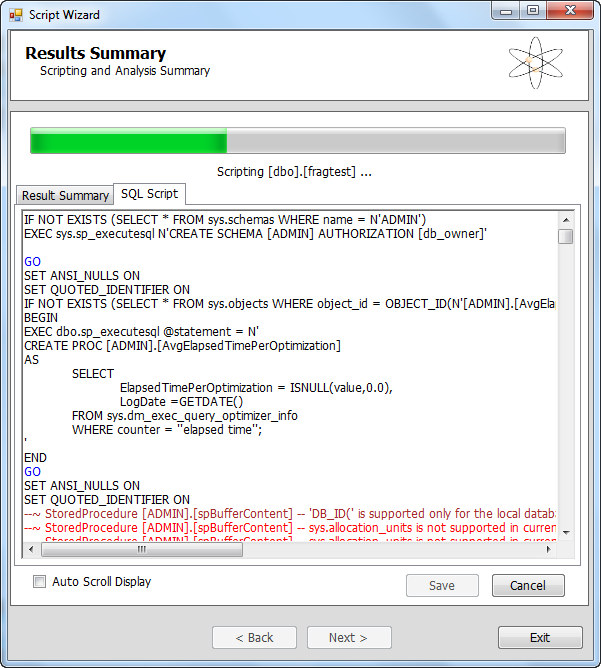
7. Result Summary You can also see the script that is created for your migration by clicking the “SQL scripts” tab.
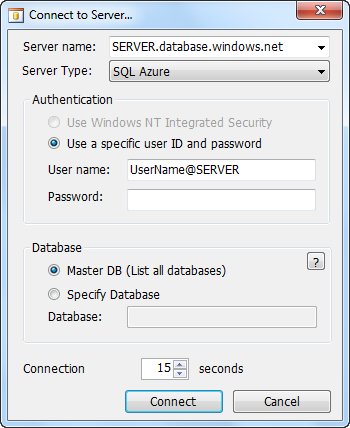
8. Connect to Azure Once the script is created you need to connect to your SQL Azure database, enter your server name, login credentials and specify the datebase and click next.
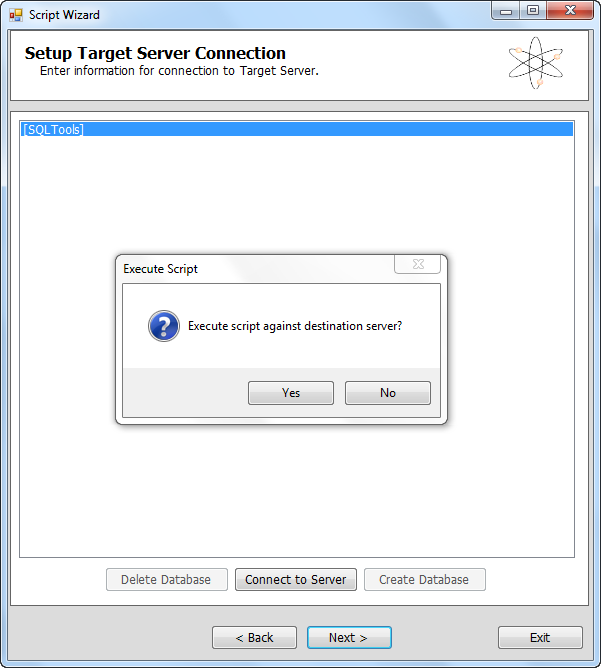
9. Select Target In my case I selected the “Master DB” to get a list of all databases in my server and then I selected the database and clicked next to finish my migration. The wizard show you a confirmation dialog and if you want to continue you click the Yes button.
If everything worked fine it’s now time to populate the database with data, point your application to the SQL Azure database and test your solution.

